
Read more

This instruct-able will teach you how to make a realistic looking
flag, but not only can this effect be used for flags It can be used for
almost anything
Step 1: first things first!


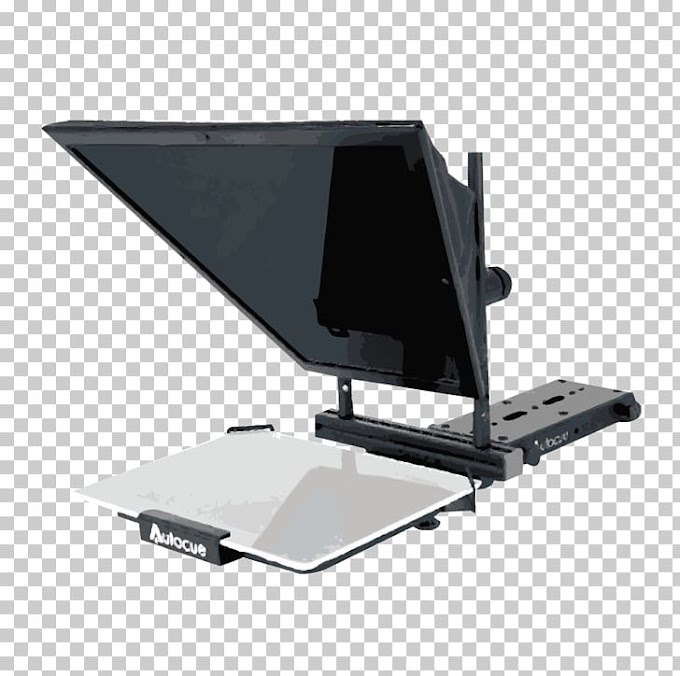
get your self a picture of some fabric and a picture fo a flag, you can use mine if you like.
Step 2: put both images into photoshop

Open your fabric and your flag image and then apply gaussian blur to your fabric picture
(Filter > Blur > Gaussian Blur) and experiment with the radius to hide the detail of the fabric, keeping only the folds.
(Filter > Blur > Gaussian Blur) and experiment with the radius to hide the detail of the fabric, keeping only the folds.
Step 3: SAVE!

Save your image as a PSD file (File > Save as). I saved mine as fabric.psd
make sure you save as a PSD or the next few steps wont work out.
make sure you save as a PSD or the next few steps wont work out.
Step 4: next up: the flag image

Start working on your flag image. Apply the displacement map
filter to your flag with your fabric photo, mine is the fabric.psd file.
(Filter > Distort > Displace)
use the same settings as i have done in the picture.
use the same settings as i have done in the picture.
Step 5: take a look so far

this is what i have got, maybe have a rest have a cuppa' and a biccy
Step 6: adding the wavyness

Go back to your fabric picture and select the whole thing with
your marquee tool or simply by using ctrl+a, copy (ctrl+c), paste it
(ctrl+v) onto your flag picture and change the layer mode to "Hard
Light".
yeah.. Hard.
yeah.. Hard.
Step 7: your finished!

take a look at your artwork.. remember this effect can be used
with almost any picture try doing one of a friends face or make a wavy
house!
vote for me to win, and I'll give you a cookie.
vote for me to win, and I'll give you a cookie.
Thank You
Salai Zo Sangpy


0 Reviews
Lungdam ThankQ